Image Resolution and Aspect Ratio: Choose Your Frame
Choose image resolution and aspect ratio for MiniMax H3 projects, from wide banners and portraits to product concepts and detailed layouts.
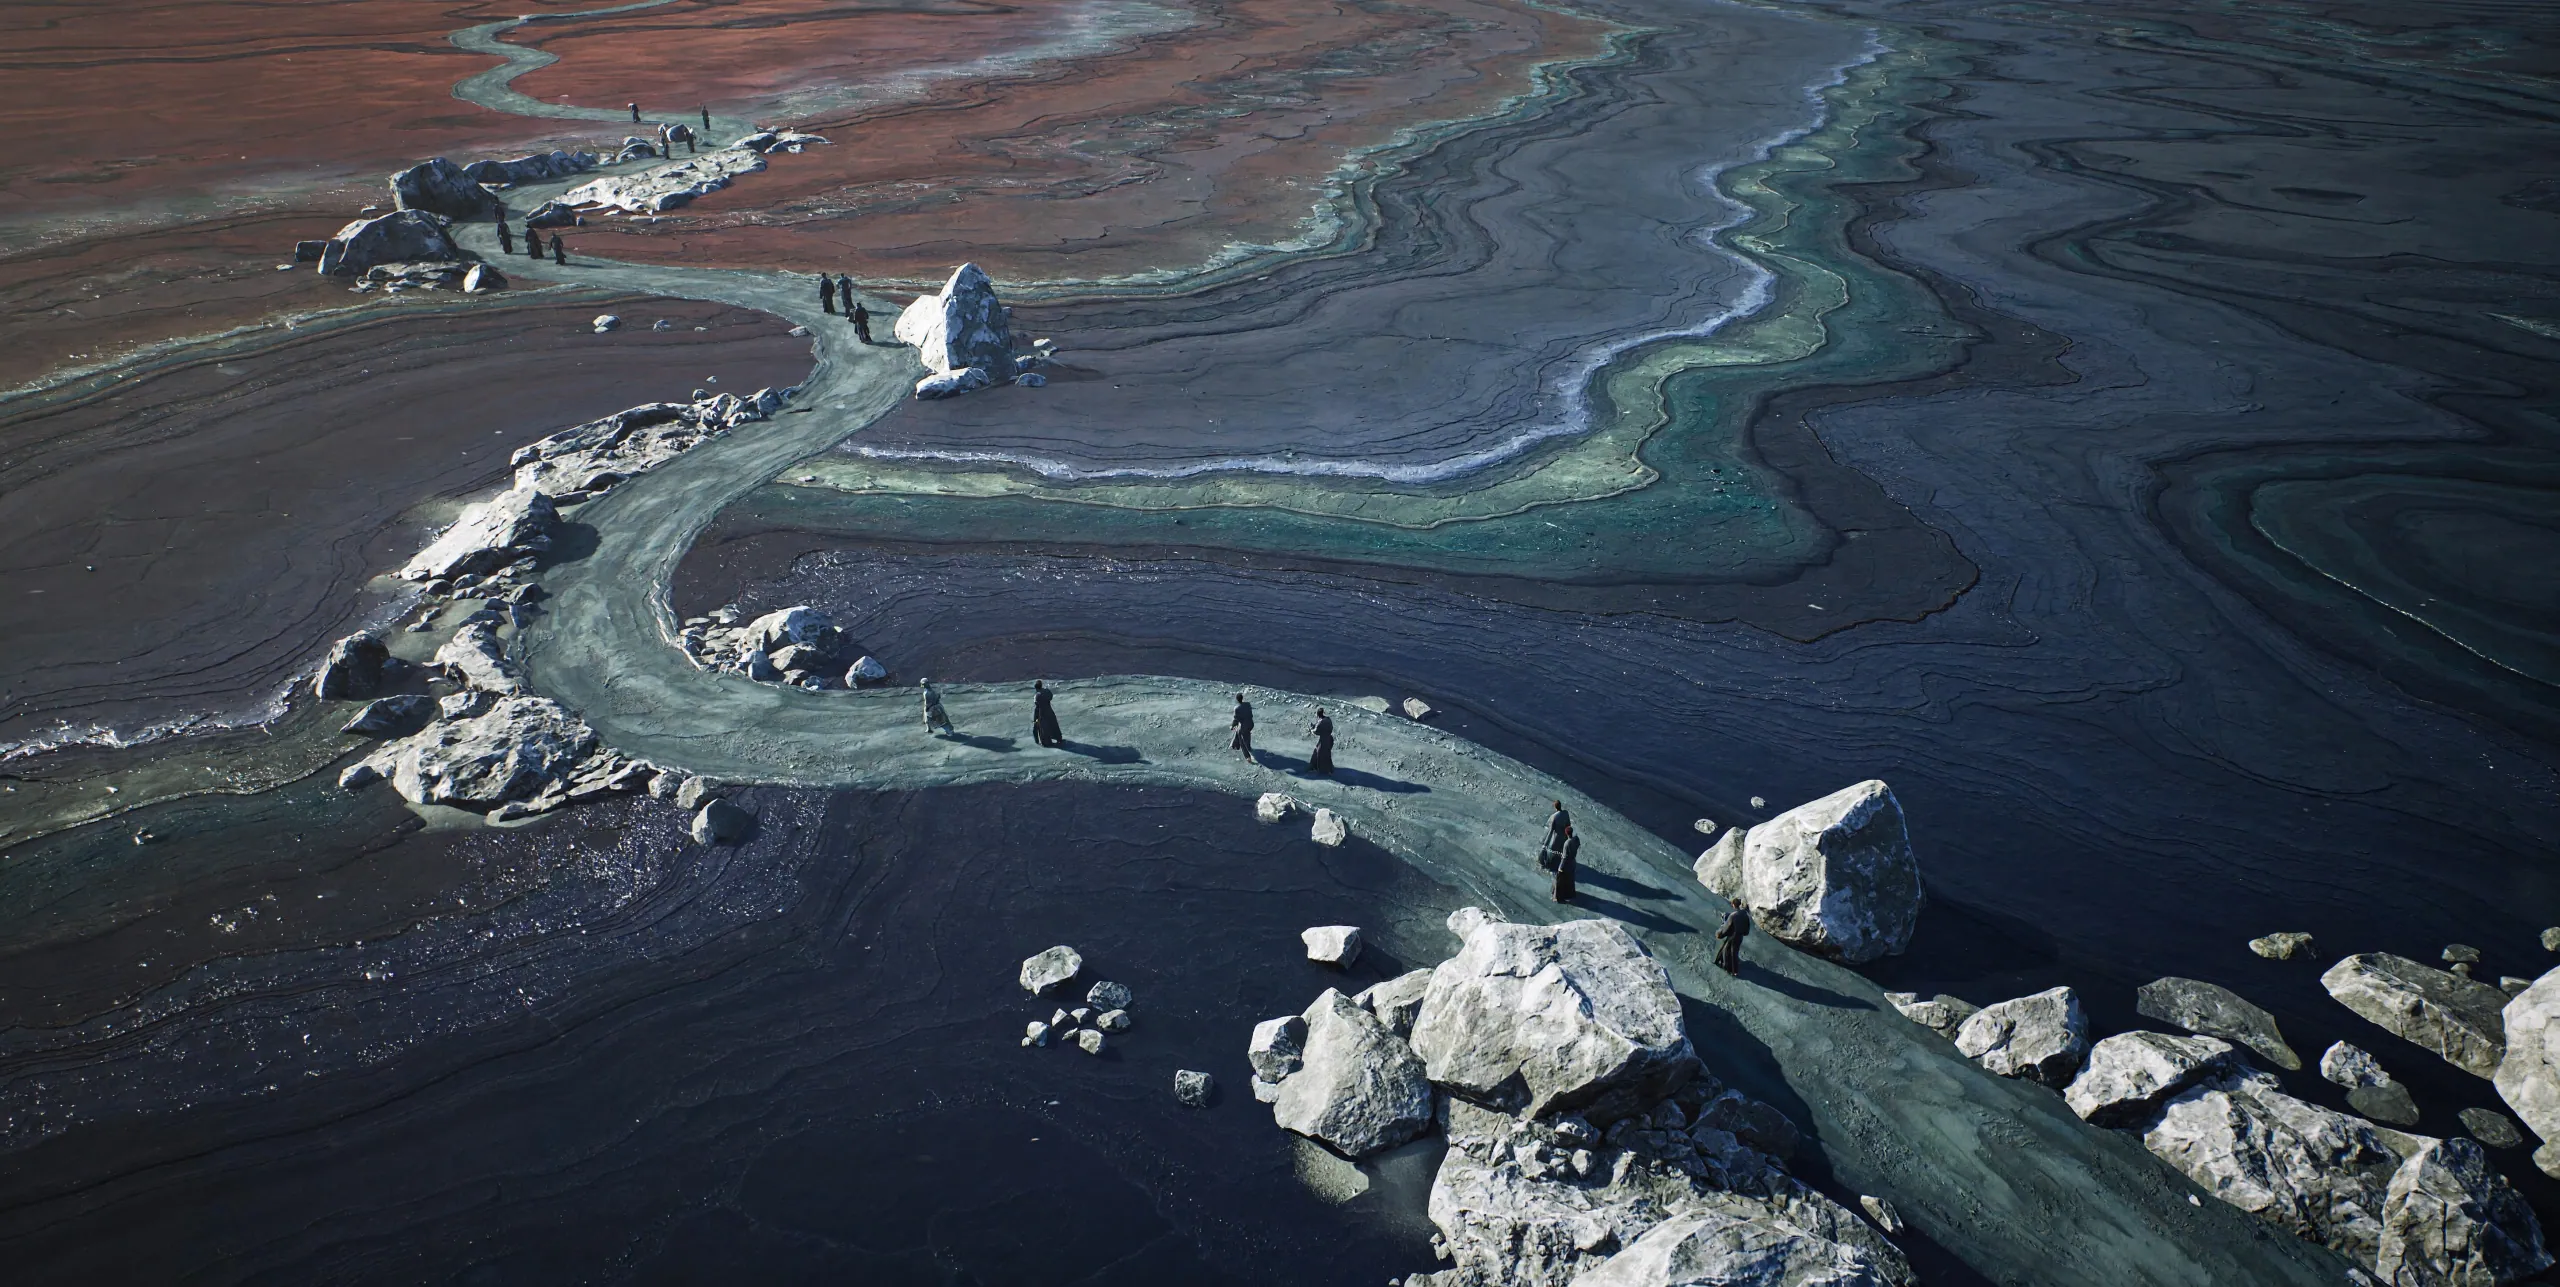
Image resolution and aspect ratio answer different questions. Resolution controls how much pixel detail an image can contain; ratio determines its shape. In MiniMax H3 Image, choose both before generating. Begin with the destination: a website hero, a vertical social cover, and a square product concept each need a different kind of frame.
1. Choose the frame for its destination
Use the intended placement to choose an H3 Image frame. A wide frame can give a landscape room to breathe or leave space for website text. A vertical frame suits a portrait-oriented placement. A square can simplify a grid of related product concepts. None of these choices automatically creates a good composition.
Tell the prompt where the main subject belongs within that frame. Mention negative space if your design needs a headline, and keep important features away from the edges. Review the image in its actual placement because a thumbnail can hide crop problems that become obvious in a finished layout.
2. Match pixel area to the task
MiniMax H3 Image provides 1K, 2K, and 4K area settings. These labels describe output tiers, not a fixed width for every ratio. The official documentation describes a square 4K output as 4096 × 4096 pixels. A wide or vertical frame uses different dimensions to serve the selected shape.
For early ideas, choose a setting suited to comparing composition. Reserve larger outputs for a direction you intend to inspect or use. More pixels can provide room for detail, but they do not fix an unclear brief, unwanted objects, or inaccurate lettering. Review the credit amount shown by the website before submitting.
3. Check the crop before committing
Image resolution and aspect ratio should work together with your H3 Image layout. Stretching an image to fit another shape can distort the subject; cropping may remove information you wanted to keep. If the placement changes substantially, consider generating a composition for the new ratio instead of forcing the original into it.
Open the downloaded file and confirm its actual dimensions. For printed work, calculate the required pixel dimensions from the physical size and chosen print resolution. Do not assume that a 4K label alone guarantees a suitable print or that enlarging a small preview will reveal new source detail.
4. Inspect the image where it will be used
Check both the full composition and the details at a useful viewing scale. Look for broken edges, repeated textures, distorted small objects, and unintended text. For a website, test the image on desktop and mobile: the visible crop often changes even when the original asset stays the same.
Keep your MiniMax H3 Image prompt, settings, and original download together. This record makes image resolution and aspect ratio easier to compare across revisions. The mineral landscape on this page is an official example used for illustration; it is not a promise of a specific output size or a generation made on this website.