Reference Image Editing: Keep Your Brief in Focus
Plan reference image editing in H3 Image with a clear role for each source, precise change instructions, and a practical result review.
Reference image editing works best when the images have distinct jobs. One can establish a room, another can show a product, and a third can communicate a palette. In MiniMax H3 Image, choose Image edit to bring references into the workflow. Before uploading, decide what you want to change and which parts of the original must stay recognizable.
1. Prepare a small, purposeful set
Start with the image that defines the scene. Choose a source where the important subject is visible and the intended edit is easy to explain. Very small details, heavy blur, and hidden edges make your instructions harder to evaluate. Use images you have permission to upload and adapt.
Add another reference only when it answers a specific question about appearance, arrangement, or style. H3 Image supports up to 16 references, but that is a limit rather than a target. A smaller set with clear roles often makes a more useful brief than many pictures with conflicting visual directions.
2. Assign a role to every image
Use the upload order when naming references in the prompt. Explain which image provides the base scene, which supplies a furniture design, and which suggests color or mood. Check the order again after removing or adding files, so the written instructions still match the reference tiles.
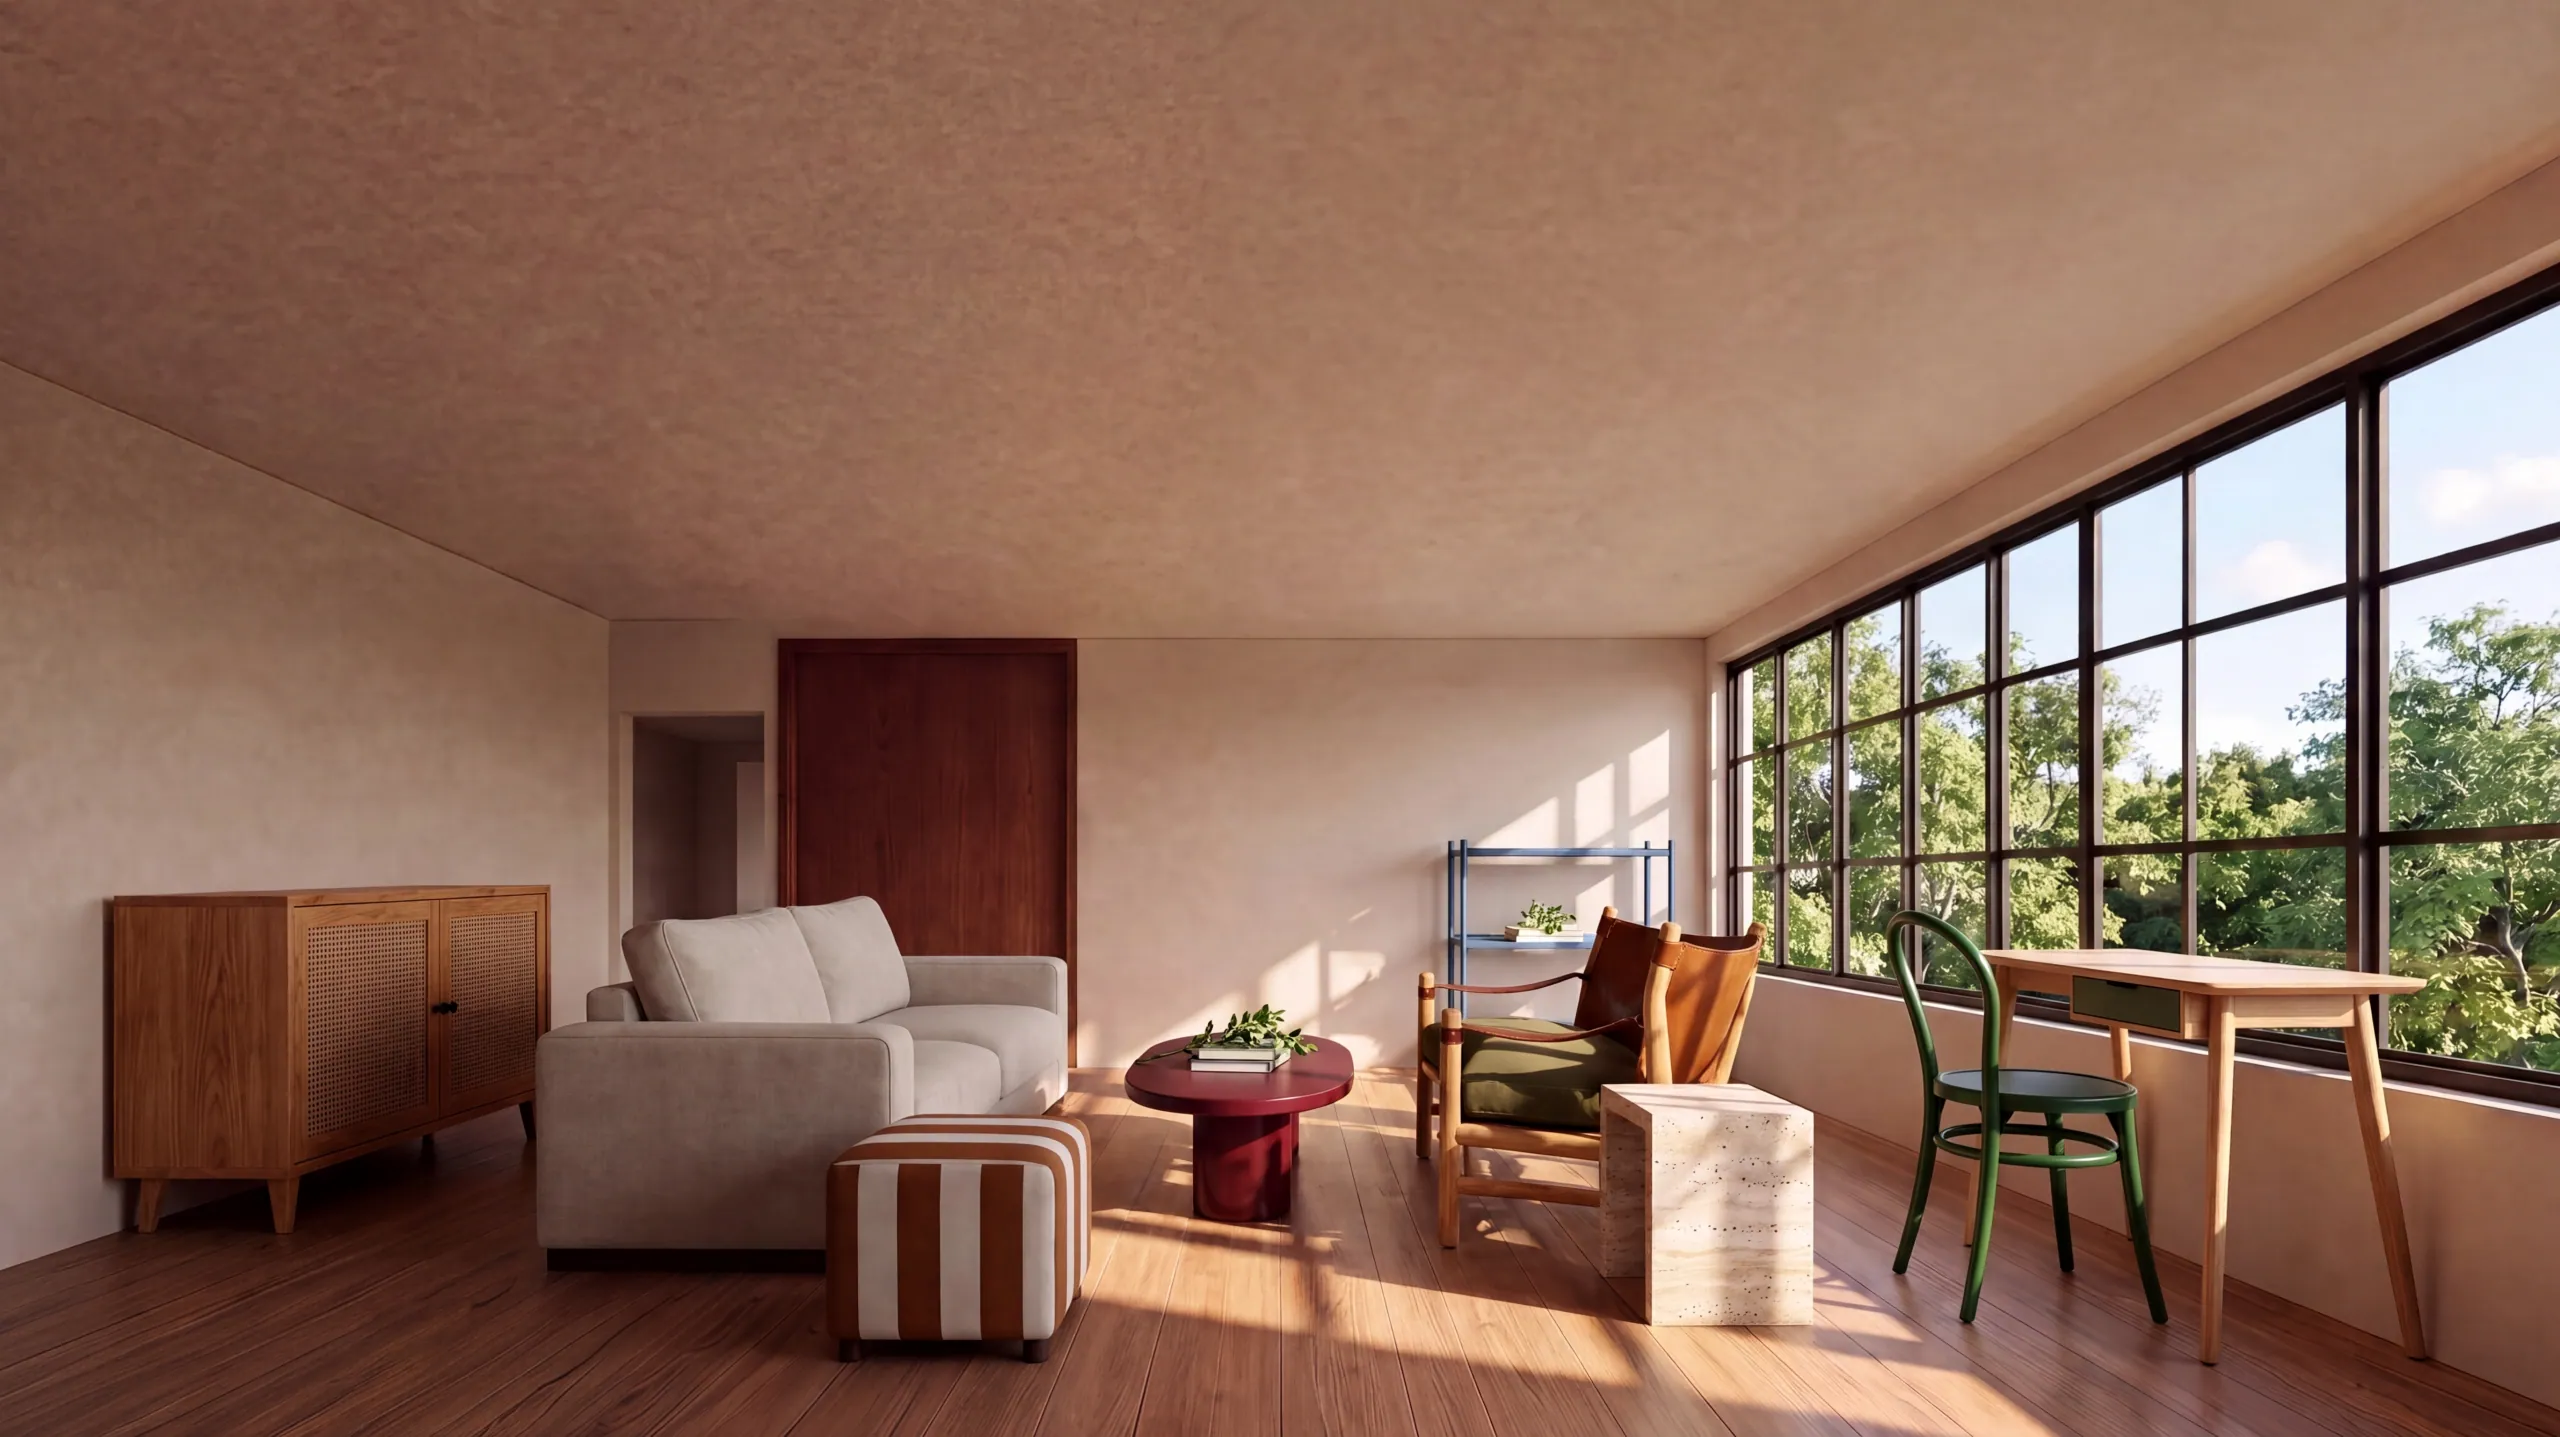
For a MiniMax H3 Image room edit, separate structure from decoration. Ask to preserve the viewpoint, window positions, and floor layout if those are important. Then identify which furnishings should change. A style reference should not accidentally become an instruction to replace the whole room or alter its proportions.
3. Explain the change and the constraint
Reference image editing benefits from direct verbs: replace, add, remove, preserve, or recolor. Pair each change with its boundary. You might change a chair while keeping the rest of the arrangement, or explore a different wall finish while retaining the original lighting and camera position.
In a MiniMax H3 edit, avoid giving the same feature two incompatible references. If one image supplies shape and another supplies color, say so. Reference images guide generation; they do not guarantee exact product identity, geometry, or brand fidelity. Keep that distinction in mind when preparing a commercial presentation.
4. Compare the result against the sources
When reviewing a MiniMax H3 Image edit, look beyond the overall atmosphere. Check edges around the edited area, object scale, reflections, and the relationship between foreground and background. For interiors, compare the windows, perspective, and furniture shapes against the original references. Download the result before relying on a provider preview link.
The furnished room used as this article’s cover comes from an official MiniMax example. It illustrates a reference-led scene, not a result produced here. For your own reference image editing workflow, keep the source order, instructions, and selected output settings together so the next revision starts from a clear record.